I’m not gonna lie, I would seriously rather hand-sew another set of 18th Century stays than make another Attack on Titan harness. True, the stays took me like 8 months longer, but they didn’t involve trying to make my craptacular Janome come to terms with pleather.
Internet research confirmed that pleather is a special snowflake, and because it’s both stretchy and sticky, it needs extra help to go under the presser-foot without bunching and puckering. Some recommended a roller foot (sounds awesome but couldn’t get one), or the ol’ paper trick, where you pin paper over the fabric and rip it off after. Others recommended a teflon foot, which I got, as my local Janome dealer didn’t have a roller foot. The poor shop lady looked at me with plain distress on her face when I said ‘cosplay’ and ‘pleather’ in the same sentence. Sadly, when I got the foot home it only kind of vaguely worked, more on that later. Pleather’s other extra-special attribute is that it doesn’t like pins, because it’s not woven and pins will leave holes.
But this is me we’re talking about, and I like leaping in at the deep end without checking for pointy rocks/stingrays/Cthulu first. I already felt I’d done enough planning by drawing up a ton of notes on what attaches where. Bear in mind there are much MUCH better diagrams in google images, and even though I’d drawn these out, there was no guarantee I’d follow them perfectly in the moment.


Haha, even just reading those back now there are so many places where I deviated from the plan. Because I am Captain By-The-Seat-of-My-Pants.
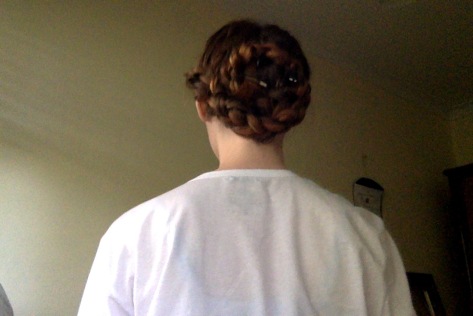
So first I just made oodles and oodles of strapping from the pleather, with the non-stretch direction lengthways. Turning a tube was too hard because the right sides stick to each other, so I folded an 8cm-wide strip in half, wrong side to wrong side, topstitched the fold, then folded in the other edge a cm or so and topstitched it too. Because by that stage I hadn’t had a chance to haul my butt to Maribyrnong to get a teflon foot, I used the paper method, and because pleather dislikes pins, I used bobby pins. It helps that because I have stubborn hair, I have extra-strong bobby pins. BOBBY PINS ARE THE ANSWER TO EVERYTHING. Also, if you are someone with Hermione-levels of hair like me, you probably already have loads of them lying around. If you have short hair/love office products, I hear paperclips work too.

Yes, that’s La Traviata. It was in an old subject reader from my undergrad so it was an excerpt anyway. I wasn’t sacrificing actual sheet music. The paper rips very cleanly off in this instance because the pleather doesn’t try to come with it the way a knit fabric does.
After I’d made metres and metres of the stuff, I started with the back pad and made my way down from there, sometimes using Dido the dressform, but trying it on me every now and again because sometimes she goes a funny round-shouldered shape that’s not helpful.
The back pad (and both the scabbard pads, for that matter) were a cheap grey poplin underlined with felt leftover from a dragon plushie I made for a friend’s five-year-old a while back and forgot to blog about. Problem is, this is the colour of the felt:

Naw, how cute was it before it got loved to death? Anyway, back to AoT. Turns out when you underline grey poplin with green felt and then expect to cut what are effectively large buttonholes for straps to pass through, you inevitably see the green felt on the inside of the slash, like your harness is secretly Bruce Banner or something. Not a massive problem, but weird up close. And cartoon-prompting.


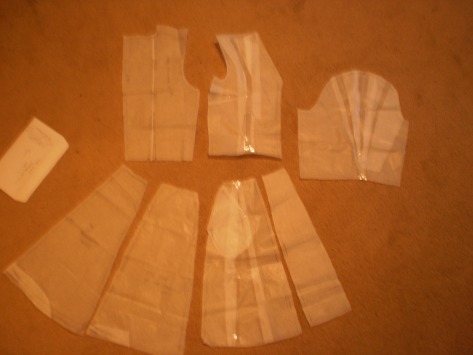
Have a very dark photo of the pattern, because I can’t be bothered lightening it.
Then it was a matter of trimming straps to size and adding them one at a time. The upper back first, then the sternum buckle, then from there. Somewhere along the line I realised it’d be easier to make the whole thing in one rather than trying to keep the top and bottom separate. I’m sorry I didn’t take better notes as I went, but it was pretty damn confusing, the whole process lasted a couple of weeks and I’m not entirely sure I knew what I was doing at the time. There was wine was involved at several points. Also some pretending to be Levi, some pretending to be Veronica Lake, and some wearing the flower crown from when I was Woodsprite 1 in Rusalka earlier this year. Pro-tip, don’t drink and sew, and definitely don’t let a soprano have access to wine, cosplay and a camera at the same time. Do have a montage though.


By the end it was crazy trying to get the whole thing under the needle…

And sometimes I resorted to some dumb tactics…

Most of it was sewn together using a variant on this criss-cross pattern:

Right up the top in that photo you can see what I mean about the green felt too.
Some of the details ended up being pretty crucial. For example, I realised early on that it’d be silly to permanently attach any of the straps to the scabbard pads in a way that they couldn’t move. So this is the arrangement I came up with on the back, using fabric loops. The thigh straps just feed through enormous buttonholes the way the shoulder straps do in the shoulder pad:

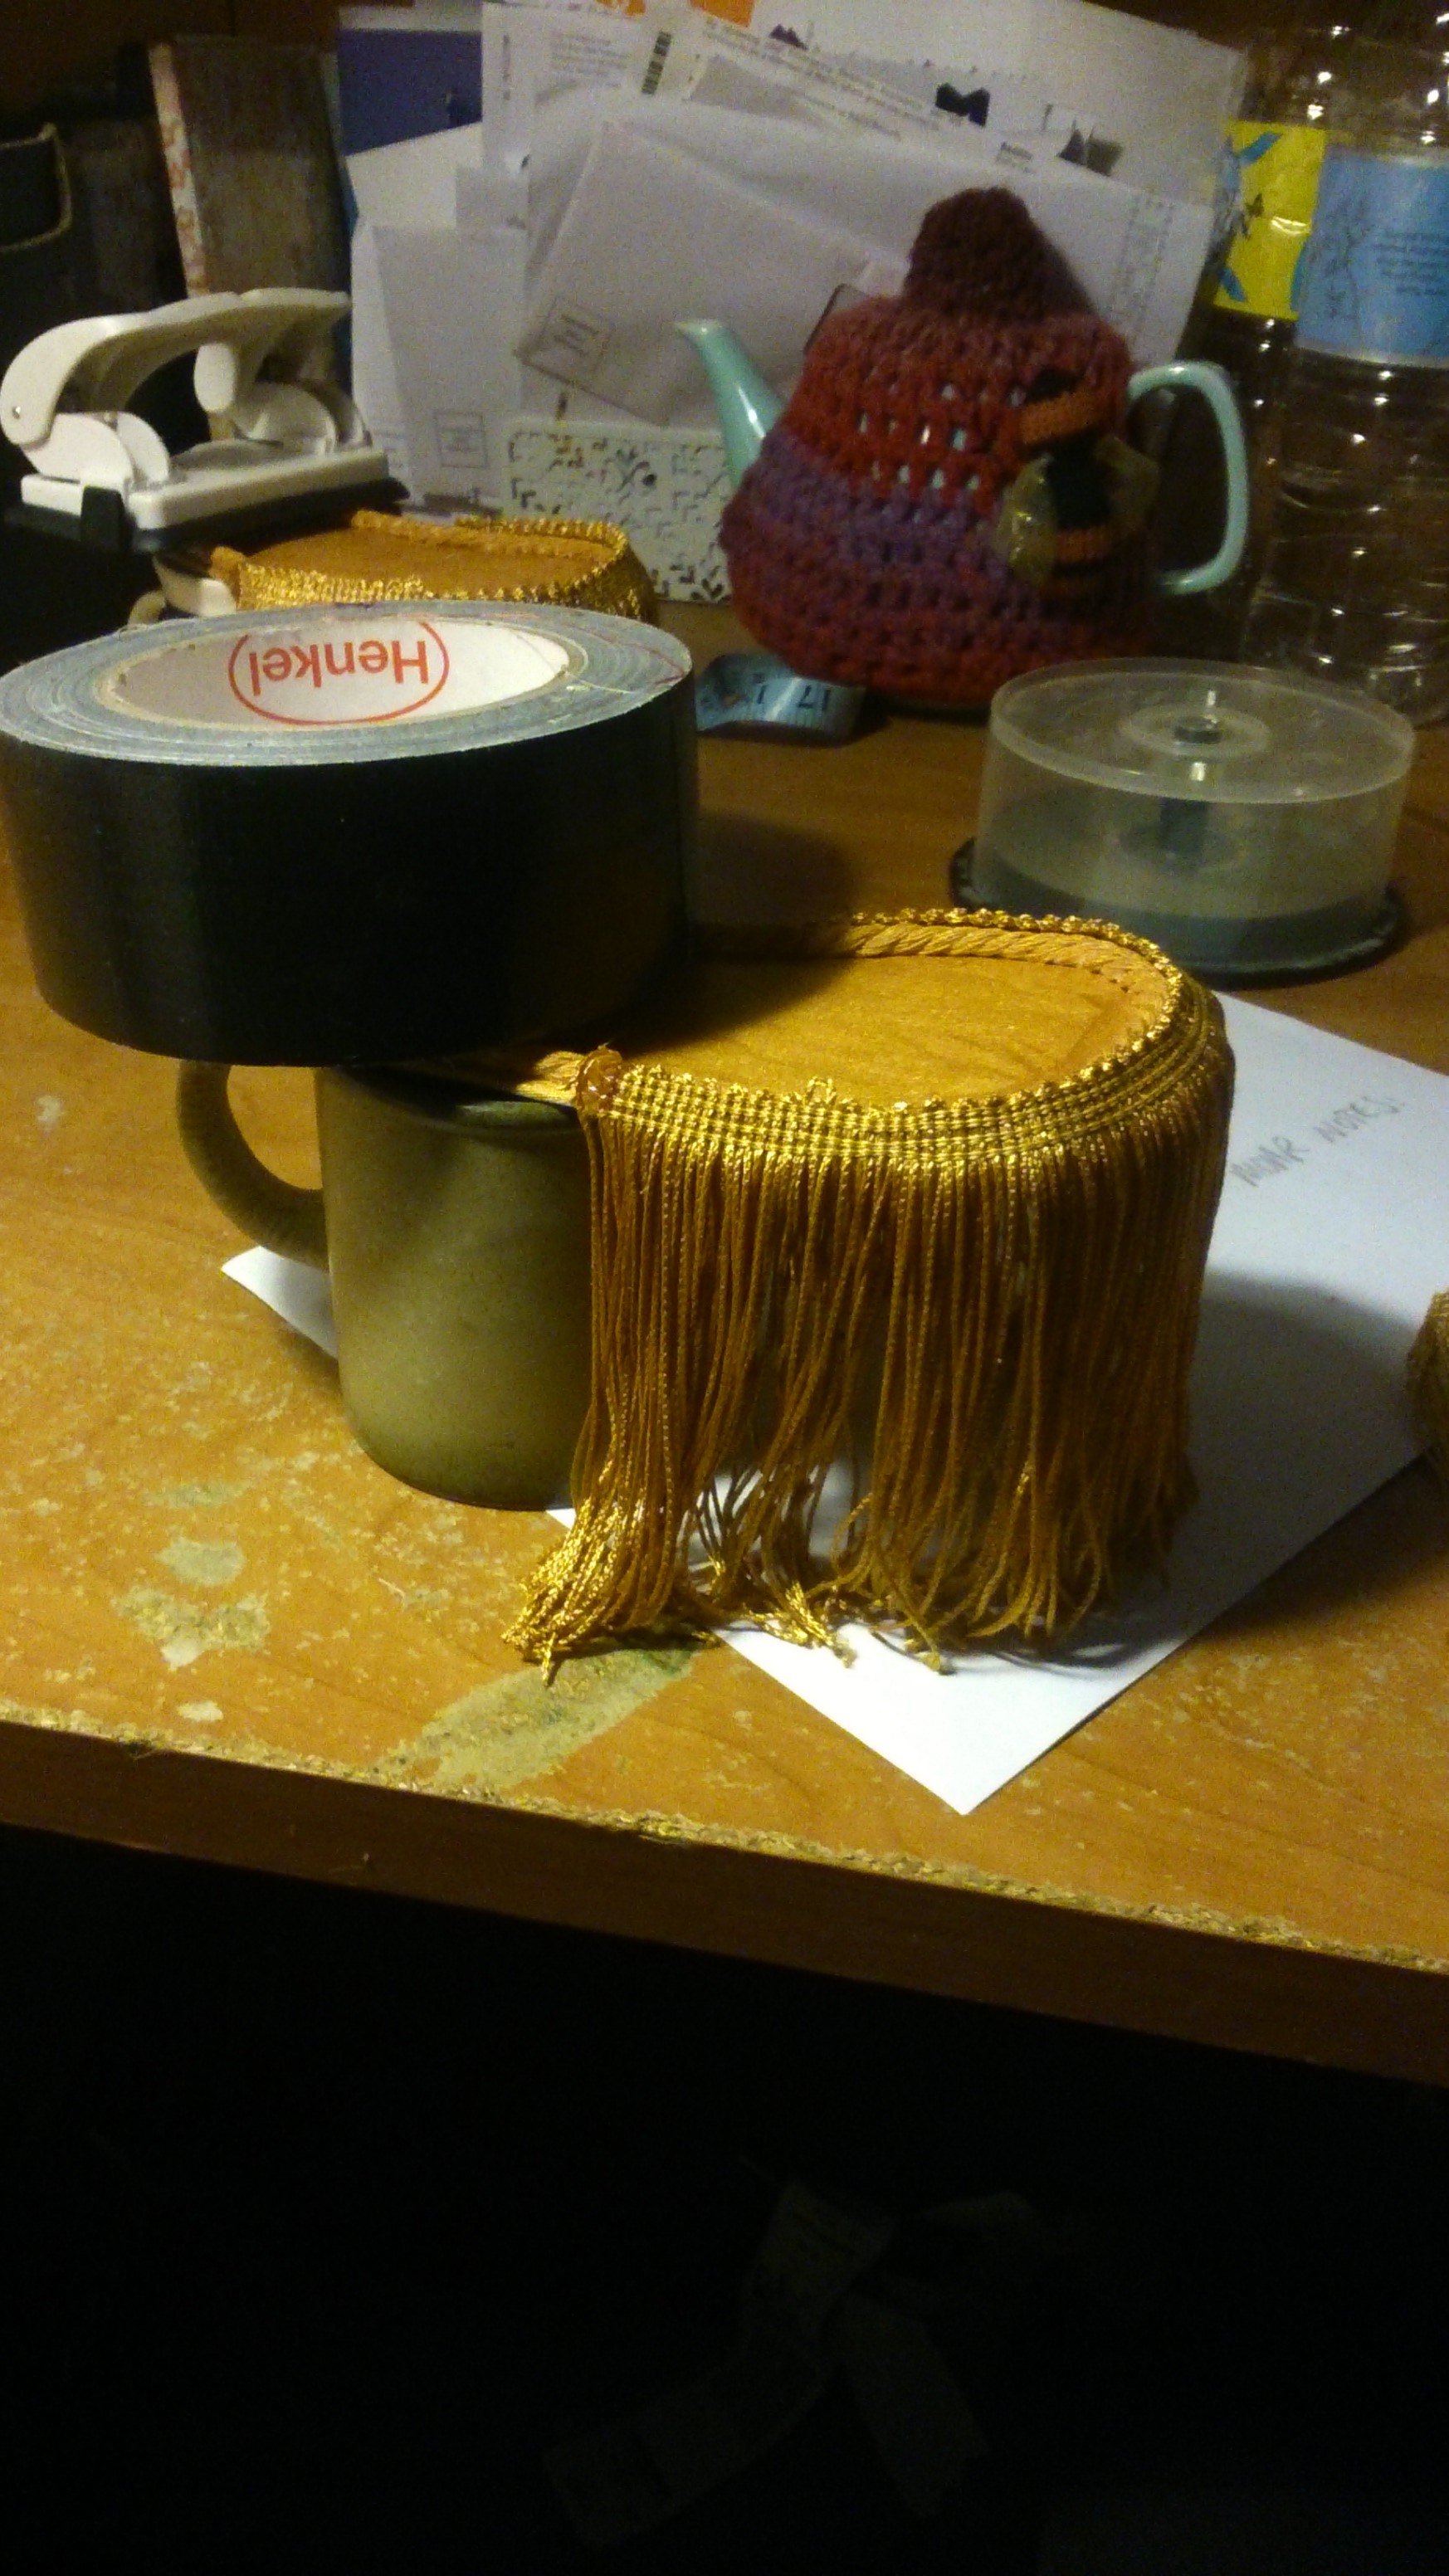
The buckles were just sewn on and the holes for the latchets were made with a stitch ripper because my awl (and by awl, I mean very sharp pencil) didn’t work.

I didn’t end up attaching the straps at the front with buckles to the belt because I couldn’t really think of a way to do it, I ran out of buckles, and really I was just looping them around the belt loops of my jeans and using the belt (which is totally separate) to hold them down.
Here it is in its completed (if slightly dodgy) glory:


I tried taking a couple of videos of putting the whole catastrophe on to see if I could document it clearly, but it didn’t make it any clearer and it takes roughly ten minutes (I can see why humanity is dying out if it takes their strongest members that long to get their kit on and off, you know what I mean?), so make do with a talkthrough:
- Lay the catastrophe on the floor, front side up. Make sure nothing is tangled (HA)
- Sit yourself down smack-bang in the middle. Shimmy thy legs under the bit that will cross over just below your stomach in the end.
- Then get each leg down into the leg loops until your feet are at the bottom. Make sure nothing’s twisted again. If something is twisted, swear at it for a while until it goes away.
- Do up the thigh straps. Adjust the crap out of all leg bits so that everything sits where it should.
- AWESOME FUN TIP: Put on some socks now! It’ll keep the foot loops from leaping off your feet when you stand up, and stop them squeaking like you’re walking through a rubber ducky warehouse in stilettos when you put your boots on. My socks have cats on them.
- Grab hold of the back pad over your shoulder and stand up.
- Squiggle all the straps up over your bum at the back.
- Pop your arms through the arm-holes at the top and shimmy the top half on without throwing your neck out. If you can’t turn your head after, time to swear some more and then call the physio. Make sure those straps aren’t twisted first though. See earlier swearing comment.
- Do up the sternum strap. If you are a boob-owner and need to move yours out of the way, do that now too. If you just have massive pecs like Captain America I can offer you little advice except good on you for having them, and can you do that thing where they pop individually? That’s hilarious.
- The ends of the straps that come from the back button on around the front ones (because I found if I sewed them down I couldn’t get my hips through it. Your mileage may vary if yours don’t prompt strange older women to compliment you creepily on your physiological suitability for childbirth.)
- Now’s when I add the belt over the top. I’m about to tell you about the skirt too. If you’re still reading that is. If you’re not then I guess I can call you a spleeny bat-fowling scut and you’ll be none the wiser. Thankyou Shakespearean Insult Generator…
The skirt thing was a lightly shaped arc thing with holes for the belt loops so I could still put the belt through them. It tied on to the belt loops with little ribbons (aww). It goes on after stage 10, and there are slits for the belt loops of the jeans to go through so that the belt can still be threaded through them. Then the ribbons are tied on to whichever strap is closest.


It’s pretty hard to see in these photos. Sorry. The areas of shaping and the edges were folded over and topstitched, and this is where the teflon foot came (vaguely) in handy. Vaguely because it was only a bit better than the metal foot, but on seams in the middle of a piece of pleather the paper method gets a whole lot harder.
The bit that really made sticking hot forks in one’s eyes sound like fun was the boot covers. I loosely followed this boot cover tutorial, mostly because I didn’t want to have to destroy any of my shoes and I didn’t want to buy any new ones to cover. First I was going to cover a set of riding boots that I can be seen wearing in most of the above photos, but the problem is I have scrawny wee calves, so the boots aren’t fitted. So the first one looked completely wrong and the top flaps were more flops. So I re-drafted them to go over a pair of ankle boots and then fit directly to the leg. Much better from a fit perspective, but such a nightmare from a topstitching perspective. And the teflon foot did a very half-arsed job. Then when I thought I was out of the woods, the top flaps were still disappointingly floppy (yes, I’m being dirty, you love it) because the pleather was quite soft, even after being interfaced with heavy linen. So I went with my usual sewing panacea of using twill tape to create a bone casing and putting a cable tie in it. That appeared to help.

The other inaccuracy was that the cords on the AoT boots are brown. But I had green rat tail left from when I butchered the green soprano gown (the gown as it was, and as it is now and ever shall be). So I have green cords on my boots. Shh.

You can’t really tell, right?

So that’s a wrap really! I’ll make a cloak at some point to add to it, but I’ll wait for the perfect green wool so that it’ll be warm and rain-repellent and heavy and gorgeous. In the meantime, have some more pictures of me and my friend having fun outside the movies in our costumes! I may have taken to photoshop and done a Who Framed Roger Rabbit on two of them… couldn’t resist.

Two Hanges are better than one.

Levi’s kicking himself he picked the berry paddle-pop when he could have had dulce de leche but didn’t want to look like he was copying Hange 2.

Eren’s wondering if the Hanges would catch him if he tried to escape.
OH! And if you haven’t already done so, check out the Society 6 store I just got! I do way more art than just photoshop characters into silly photos, and you can get it on a mug or a phone case. It’s pretty awesome. 🙂


 Forgive these shorts for they are not ironed.
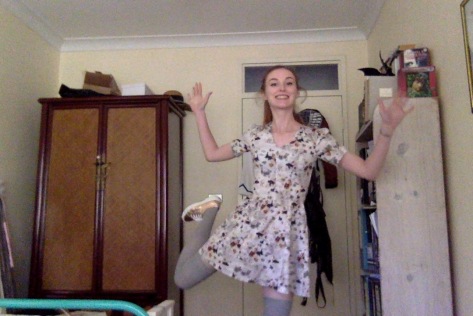
  Slightly disappointed by those shorts (though now I have no idea why because they’re actually super cute), I then made a shirt out of super-gauzy grey checked cotton with a pussy-bow instead of a collar, because by this point I’m just enjoying farting around with the shirt pattern and seeing how far I can push it.


 What’s huge and dark green and coming to get you? PANTS