
Allow me to start by apologising for the postage drought, I was moving house. I’ve got such a backlog to blog about though. I’ll start with the exciting thing, so loo breaks now guys, this is a long one.
My Satsuki cosplay wig arrived in the mail! I was pretty concerned when I was vacillating between options on Aliexpress, not sure which shops were treasure troves of soft, silky, Pantene ad hairflick-worthiness and which were quagmires of manky plastic head-tumbleweeds, but fortunately the gamble paid off and the one I picked belonged to the former category. They all appear to use the same stock photos. It truly is a gamble.
I will now reveal the way that I was taught to put on a wig properly at my very first professional operatic engagement. I presume most cosplayers do it similarly.
You’ll need bobby pins, those wide V-shaped pins, and a stocking cap (basically get a pair of stockings you don’t like and cut the legs off.). Though a hair net would probably do, a stocking cap is better because, unlike hairnets, stockings spend a lot of their time holding people’s stomachs in for them so they can definitely handle holding your hair flat to your head and securely out of the way for a three hour opera (or a convention).

My hair and its mortal enemy prepare to face off in an epic battle…
So first you’re going to flatten your hair out of the way. My hair has grown a lot since 2013 and I’m light on bobby pins right now, so instead of dividing it into sections and pin curling it flat like I was taught, I braided it into pigtails and pinned them flat in loops at the back of my head. Like a pretzel. Or Princess Leia on a lazy day.


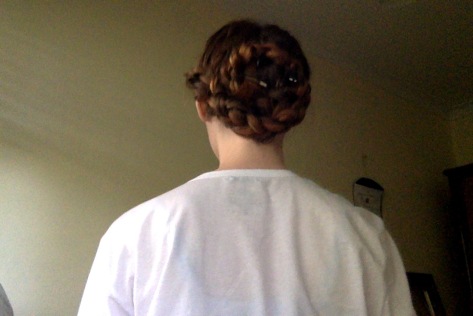
If you have the pins, do pin curls though. Seriously. It’ll look better than this.
Next you’ll get your stocking cap and put it around your neck. drag it up around your hairline, making sure you tuck in all the fly-aways.


Then you’ll fold the ends of the cap in nice and tight and pin them in place with those wide pins.

TRIUMPH!
Now get your wig and carefully pop it on over the top. Zhoozh it out a bit and then if it’s a heavy wig you can even use more of those wide pins to secure it in place under the top layers of hair. Pin through the stocking cap and into the pin curls/braids and that thing will not move.
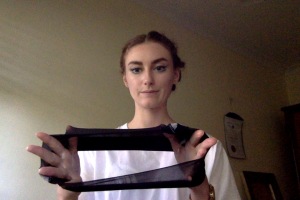
Seeing this is the first time I’ve cut a wig, I looked up a heap of tutorials. It appeared to be a 50-50 between people who prefer to cut while the wig is on a styrofoam head and people who prefer to wear the wig while they cut. I chose the latter, as I figured it’d be easier to get the length and shape right around my own face, and with the stocking cap on firmly it’d be pretty hard to accidentally cut my own hair. The downside to doing it this way is that occasionally you will flick little ends of cut hair into your eyes, which is a billion times worse than getting real hair in your eye.
Most of the tutorials advocated holding the scissors vertically, which I did for all but one step (getting rid of super excess length). One of them also suggested that for doing the fringe it helped to split it in half and do half a at a time. Given this was what the fringe looked like beforehand, I heartily endorse this strategy:
Cousin It Senpai
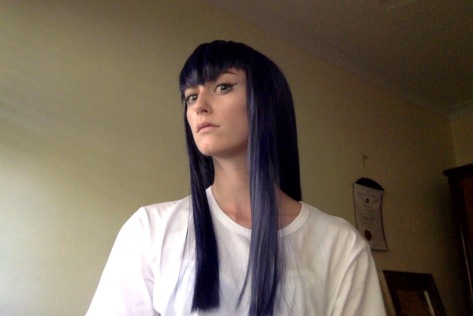
So I popped a plastic bag in the sink, split the fringe in half and cut away the bulk of that side to just below eye level with the scissors horizontal. Then I turned the scissors vertically and started to neaten it up a bit, curving it up towards the temple. Satsuki’s fringe is longer in the middle and curves up at the sides. I clipped the rest of the hair back to avoid accidentally getting any.

Once one side was done, I did the other to match, using a bit of hairspray to keep everything in place. Then I separated out the two shorter locks which come over her shoulders and cut them off at chest height. I’ll go back in there once more to round off the pointiness of the front, but it’s pretty much done.
I’m super pleased with the colour though, and with how long and silky it is. But the sink looked like I’d shaved Cookie Monster in it.

For shame.
The costume is still mostly but not completely finished. I finally sewed the boards down, but have yet to stick a hook and eye in the front of the collar or fix up the scarf ties. I haven’t made a sword or hair clips yet either. And I need to do some serious work on the boots to stop them falling down so much. But apart from that, behold!

The wig is super long too:

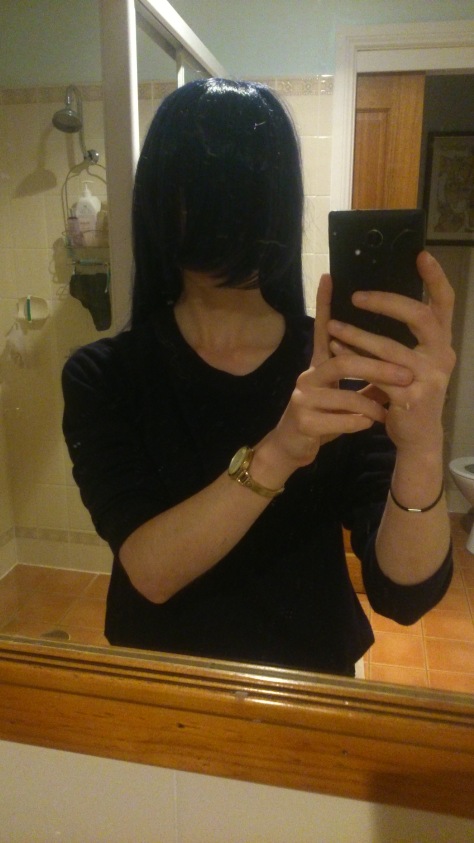
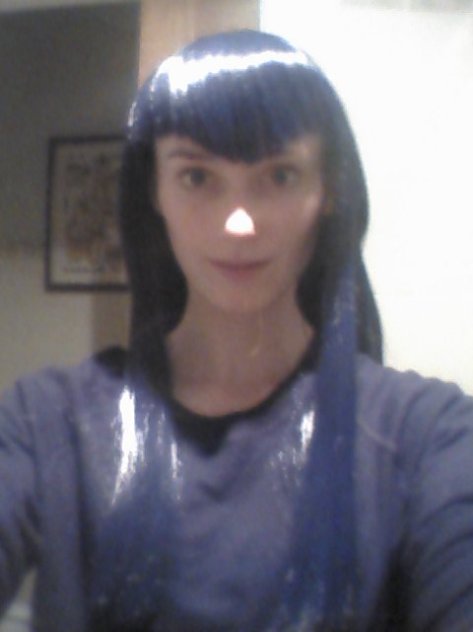
And once I had the wig and my face on, I couldn’t help taking dumb selfies, as one does.

Ryuko, I am shocked.

Naaaahhhhhh!!!!

My tea is cold!

What evil plot…?

Srsly Ryuko one more word

Resting Bitch Face.

Notice me senpai!

Blue Steel.

The Ultra-Frown
